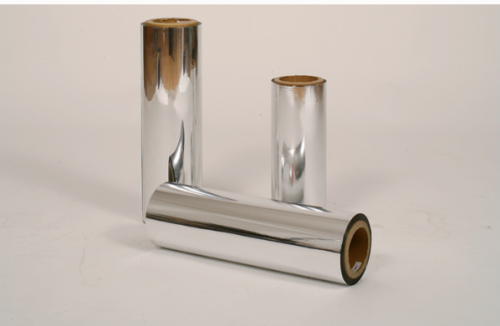
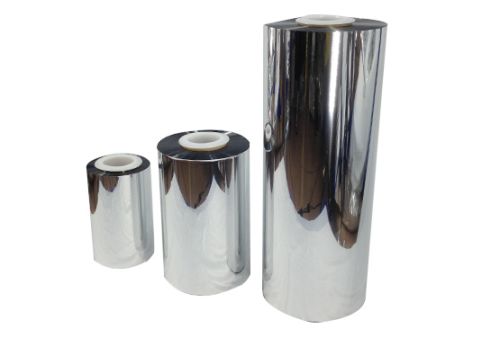
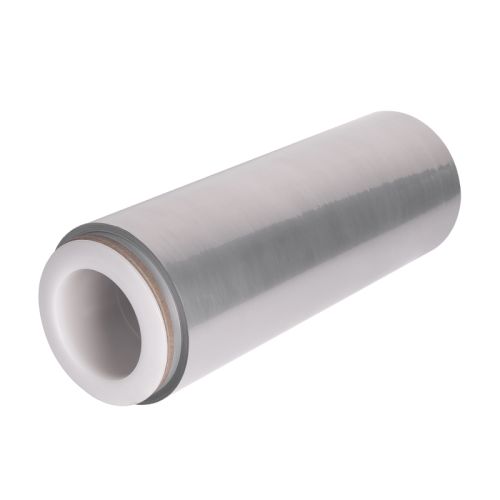
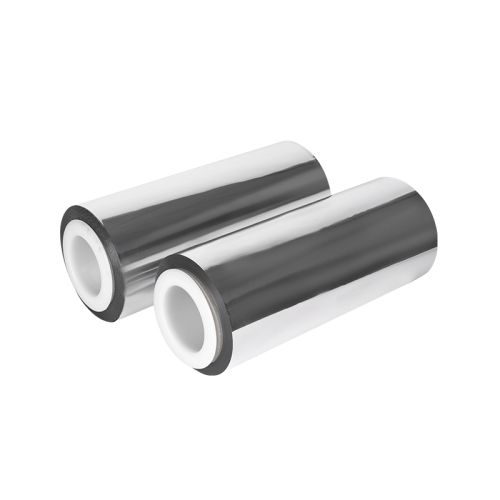
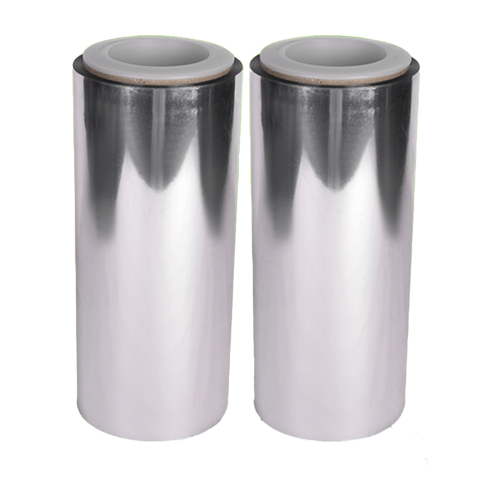
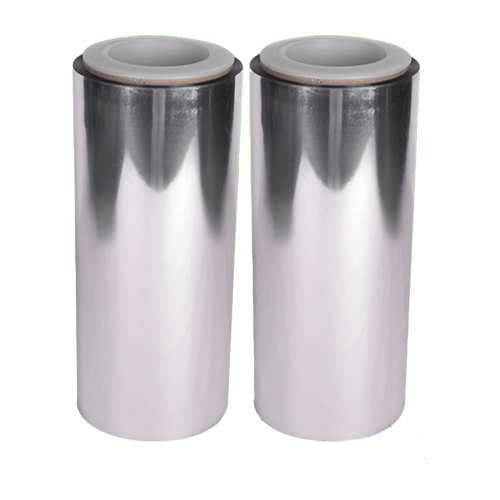
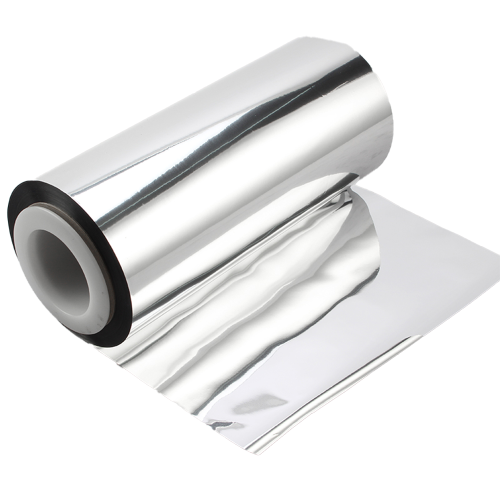
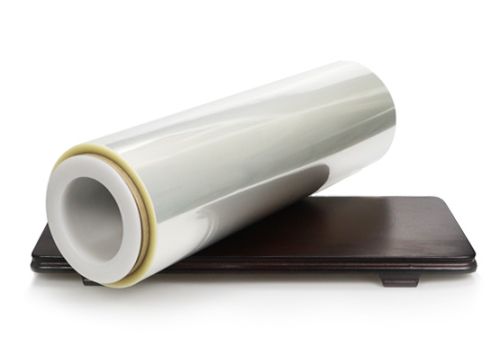
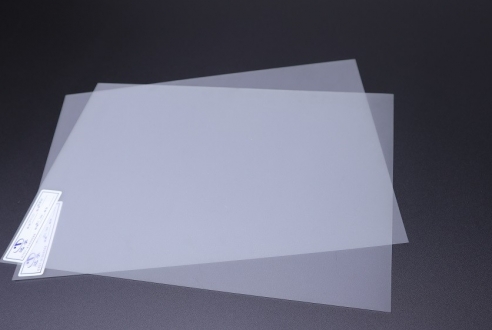
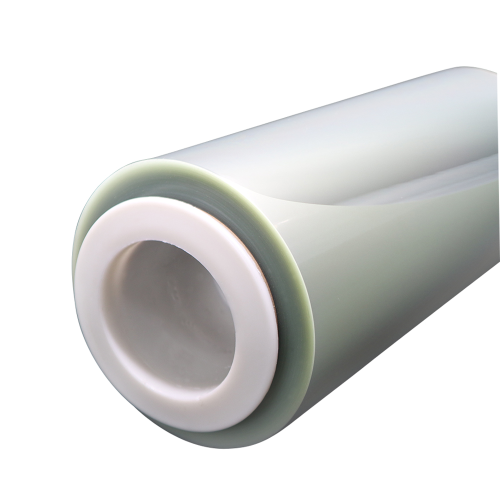
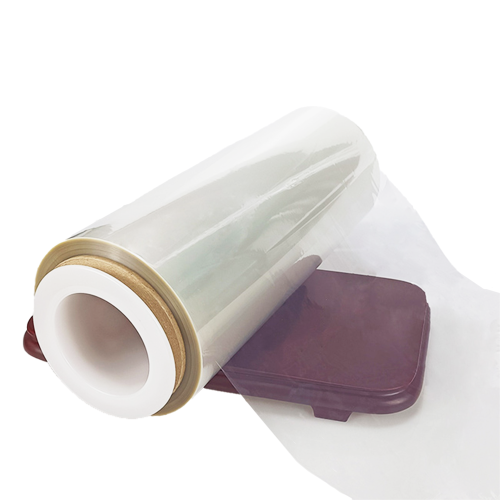
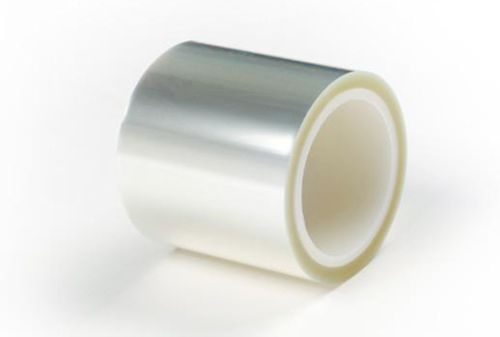
A cosmetic presentation tray needs to make the product easy to see while giving the surrounding insert a deliberate finish. A mirror-like border can work well around a dark package or a compact, provided it does not reflect overhead lights into the main label. A buyer considering high gloss metallized PET can evaluate it as a decorative facing on selected areas of the tray. Begin by deciding where the reflection belongs and how the tray will be displayed, then select the film and support together.
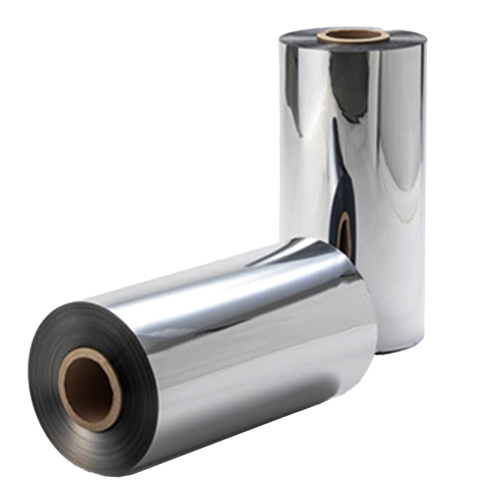
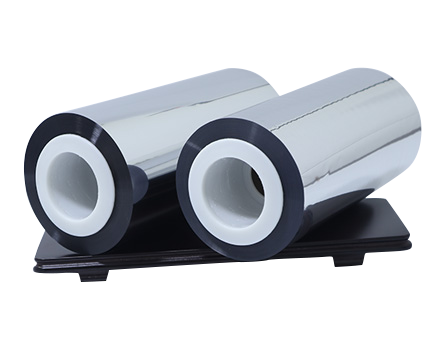
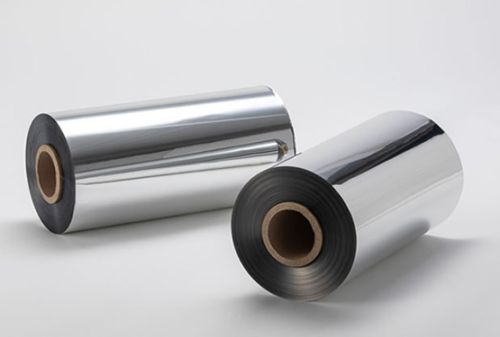
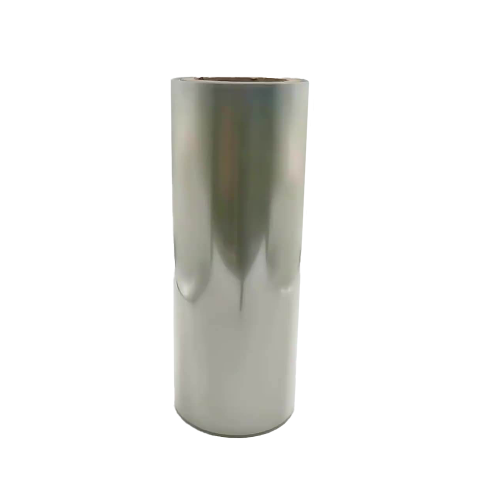
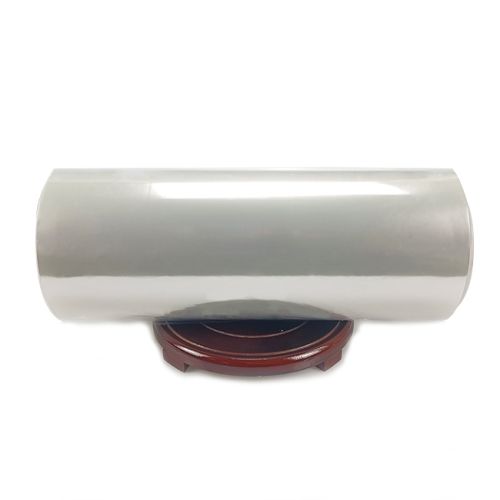
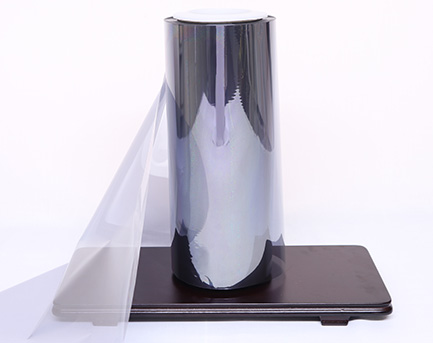
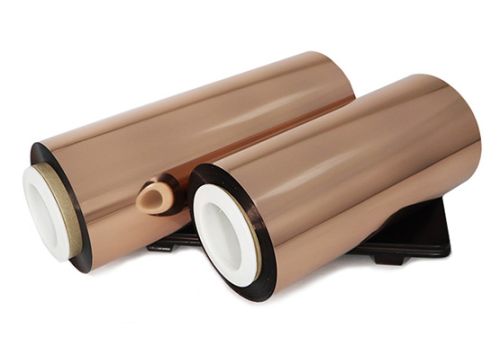
Cailong's film portfolio lists a vacuum metallized high-gloss PET film for applications calling for a bright metallic effect. Confirm the available gauge, usable width and orientation of the visible face. Use the supplier's sample to agree on the intended finish. In the tray, the film takes on the shape of the supporting board or part, so the flat film and the assembled piece will often show different reflections.
Choose the reflective zones around the product
Place the actual product in the tray or make a full-size mockup with the same shape and finish. Identify the features that should draw attention, such as the brand name, applicator or cap. Decide whether the tray needs a reflective perimeter, a small accent below the product or a broad face. An area that looks attractive when it is empty can compete with the product once the tray is filled.
Review the display with the lid open and with any transparent cover fitted. A cover adds another surface that can reflect the light, so approve the complete presentation where a customer views it before opening. Compare the tray at the expected tilt and height. A mirror-like border on a horizontal bench can produce a much stronger reflection when the tray is angled toward the aisle.
Select a support suited to the chosen shape
For a flat accent, confirm how the converter will bond or capture the film on the tray. For an accent that follows a curve, give the converter the profile, direction of bend and location of the cut edges. Ask whether the proposed film and lamination route can follow that shape. Where a sharp corner is unnecessary, compare a separate flat facing with a wrapped design that extends around the edge.
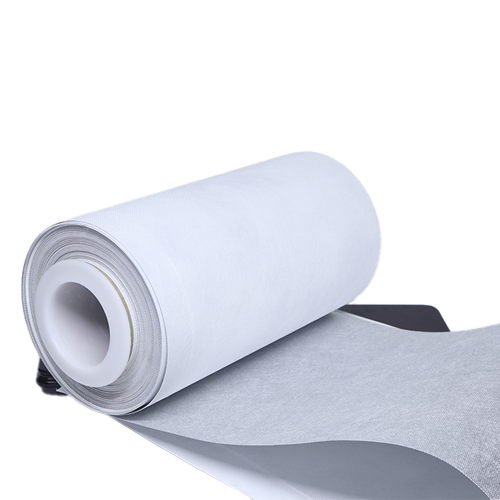
Use the intended backing and adhesive in the first representative sample. Check the surface under reflected light after the assembly has reached the condition used for approval. A smooth facing can make an indentation in the board or a join in the support more noticeable. Mark where a line appears and compare it with the support drawing. That evidence helps the buyer decide whether the film or the tray construction needs work.
Keep printed and reflective regions legible
If the design includes wording on the metallic area, include the actual print and any underprint the converter proposes. Inspect fine characters at the expected angle. A reflected lamp can cause an otherwise readable small line to disappear briefly. Where the artwork places essential text near the accent, review it as part of the same installed sample. The backing can be expressive while the information stays easy to read.
Compare a version with the accent bounded by a printed field if the full metallic face produces too much reflection. Keep the artwork and film revisions with each example. This allows the buyer to tell the supplier what the film needs to deliver while leaving an appropriate design allowance to the converter. A retained set is more useful than a direction to supply a brighter or less bright film without a reference.
Review conversion and handling before ordering
Inspect the visible face after die cutting, lamination and placement in the tray. Record which corners are handled and where the film touches tooling or packing materials. A converted insert can be acceptable at the line and show a mark after several inserts are nested. Use the production stacking arrangement and check the pieces when they are separated. Review the region beside the product along with less visible areas.
If the product is removed and put back during demonstrations, include the movement in the appearance review. Identify whether the product rubs the facing or any raised edge. A narrow band separated from the contact area may preserve an appearance that is difficult to maintain on a full surface. Compare the possible layouts on the same tray so a design choice can be made before changing the material specification.
Give the supplier a quote that defines the finished appearance
Send the film gauge, width, finish reference and visible-face orientation. Include a drawing showing which areas are flat and which need to follow a shape, plus the support and converting route. State whether the request covers raw film or cut laminated inserts. A production quote is easier to compare when both converters price the same extent of the reflective facing and the same support.
When the tray is used with both a bottle and a compact, check whether either casts a shadow over the proposed accent. Keep their positions fixed while comparing the facing options. Moving the accent can make the reflection easier to control without requiring another finish. Record the selected zone on the cutting layout so the production insert corresponds to the approved display.
Retain the agreed film sample and a tray with the product or a representative dummy. Note the display position and lighting used for acceptance. Where one tray is planned for several products, compare the version with the widest exposed accent and the one with the least label contrast. The same film may serve both versions when the exposed areas are chosen appropriately. An approved assembled reference gives the next buyer a practical way to compare replacement lots and product variants without relying on a finish name alone.