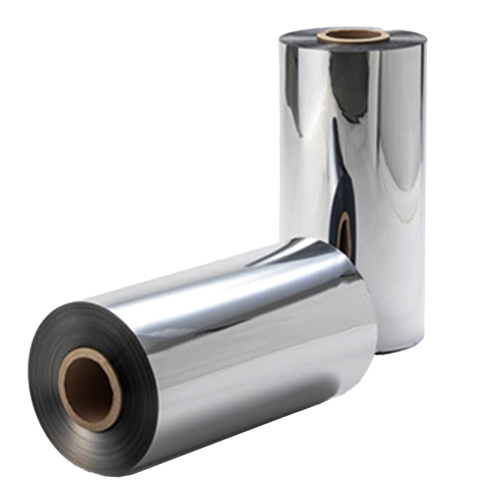
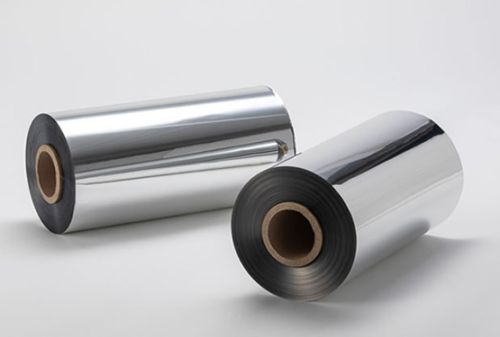
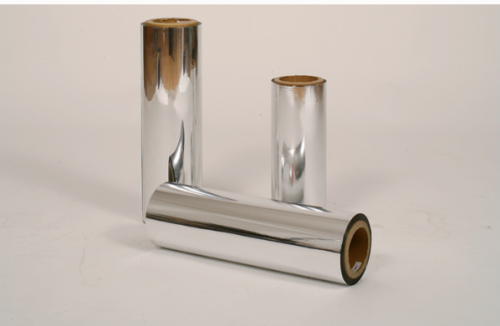
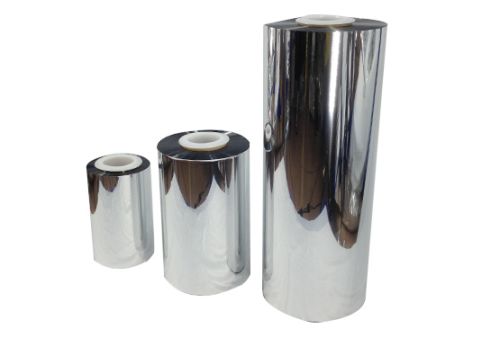
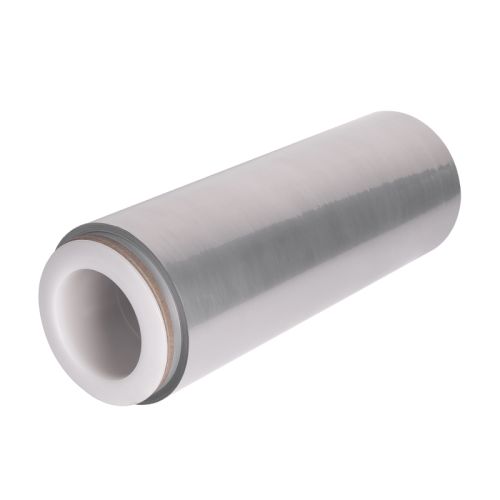
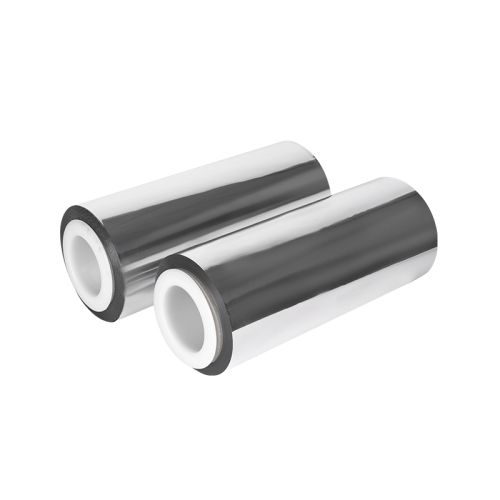
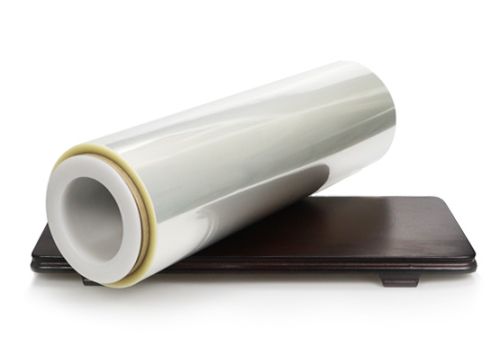
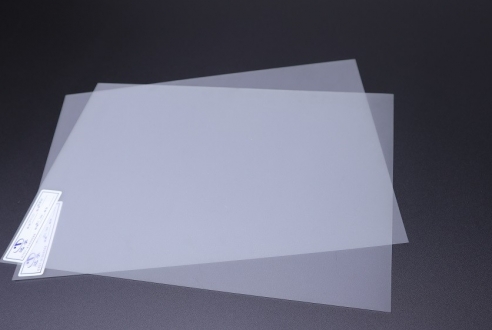
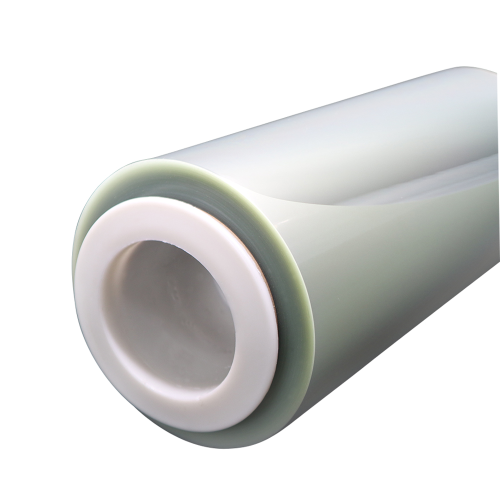
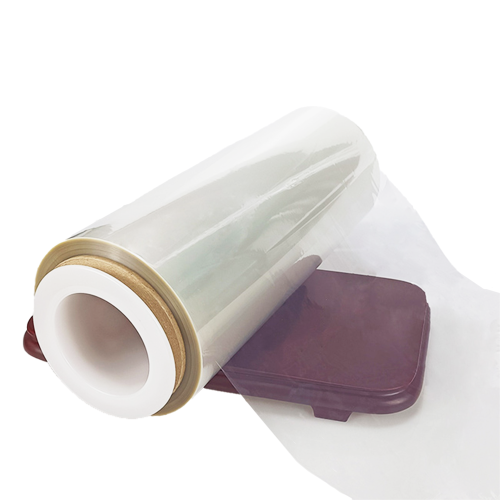
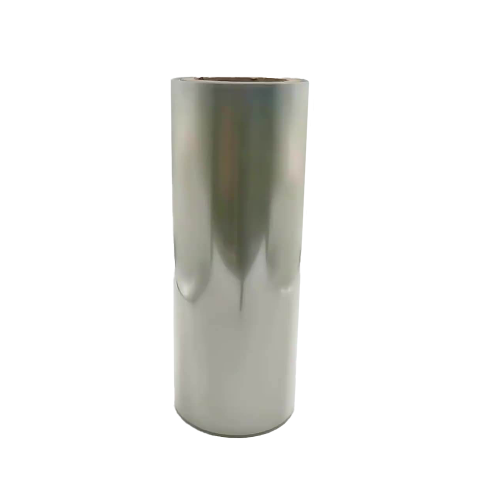
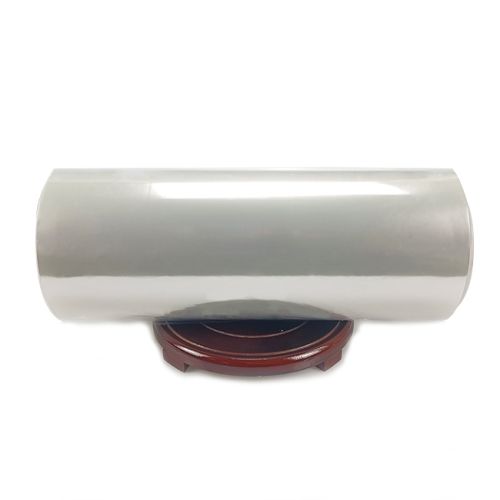
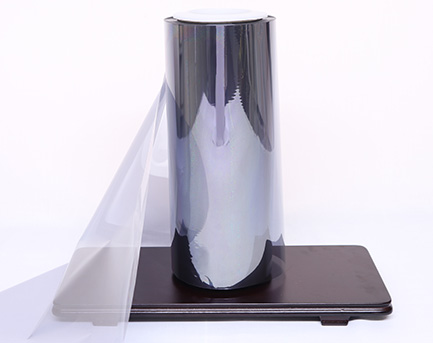
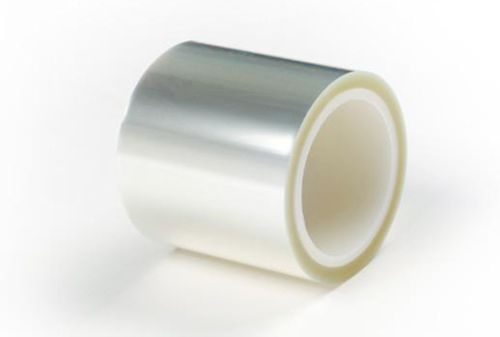
A printed retail insert may spend weeks in a shop window before a customer handles it. A clear cover has to keep product names and colors visible while the display receives light from the glass frontage. Buyers considering UV resistant PET film can use it as a candidate protective face and compare the complete printed insert against the current construction. The right trial records both the exposure that reaches the print and the way the assembled insert looks from the aisle.
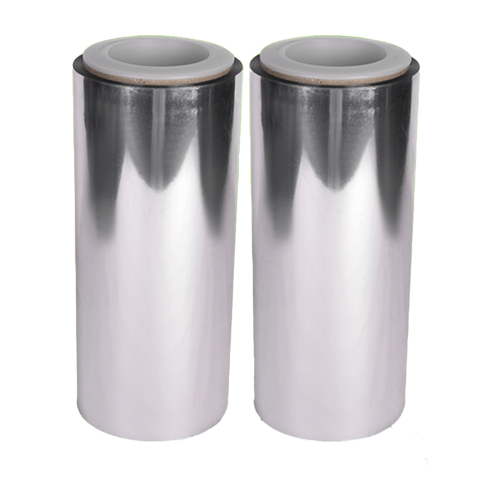
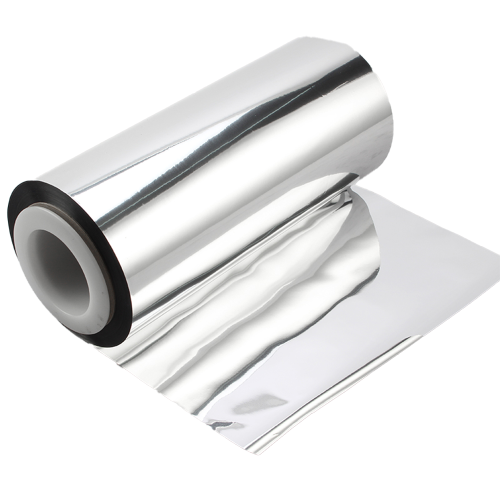
Cailong's film portfolio lists a UV-resistant polyester film. Confirm which UV performance data apply to the grade and gauge being offered. Ask which wavelengths were measured and how the specimen was tested. The visible appearance of the clear layer and the color stability of the printed insert require separate observations. The printed ink, backing, air gap and display position can all influence what the customer ultimately sees.
Define the display and its exposure
Start with the store fixture or a representative mockup. Record whether the display faces exterior glazing, receives light from an internal lamp or moves between both conditions. Note the position and orientation of the insert. The exposure incident on a vertical piece near the window can differ from an insert placed behind other products in the same fixture. Use the placement that the buyer actually wants to qualify.
Identify the life expected of the printed insert and the colors that matter most. A pale brand color may reveal a small change more readily than a dark background. A narrow text stroke can lose contrast even when a large image looks acceptable. Place samples of the actual artwork in the trial, including critical tones and the smallest information that has to remain legible.
Compare the construction, including the protective face
Prepare an incumbent insert, an insert with the candidate PET cover and a control without the cover where it can be used for diagnosis. Keep the paper or other print substrate, inks and print settings consistent. Mark the clear film face and whether it is supported, laminated or held in a frame. A film supplied loose can sit differently from the same film held against the print.
Inspect the initial appearance before exposure. Compare color, text contrast and reflections with the insert in its actual mounting position. If the cover is glossy, note the viewing angle at which a bright reflection crosses an important line. A protective layer can be useful during the exposure trial and still make the label harder to read at a particular angle. Log those initial differences so they are not confused with changes during exposure.
Agree on a comparison that fits the use
If the buyer uses a laboratory light exposure, specify the agreed method and record the source, duration and specimen arrangement. Where an in-store trial is used, document the locations and how the control and candidate are placed. A sample turned toward the window should not be compared directly with one sheltered behind a fixture edge. Keep a stored reference from the same print run for comparison at the end.
Record whether radiation reaches the print primarily through the cover or can enter around it. A cover cut short of an exposed edge may leave one band unprotected. Inspect that portion separately from the central region. Keep the exposed and shielded areas identifiable. When a color shift starts in just one region, the distribution can help determine whether orientation, fit or material is involved.
Read cover and print changes separately
At the selected checkpoints, inspect the assembled insert before removing the protective face. Note any visible discoloration, haze, glare or loose area and how far it extends. Where the procedure permits, compare the printed piece without the cover and retain both pieces. If the print still matches its retained reference while the assembled appearance changes, the cover or assembly may be contributing more than the ink.
Use the same backing and geometry when making any instrumental color comparisons required by the buyer. If images are used for review, maintain consistent exposure and lighting. Include the smallest area affected, not just a full view of the insert. A minor shift in a large field can be less important than a change that obscures a stock code or brand detail the customer needs.
Compare alternatives using the relevant shop conditions
If the existing cover already meets the viewing requirement but the printed surface fades, compare the candidate and incumbent with the same ink and mount. If both show the same change, review the location or print system with the converter before changing the cover specification. Where a different surface finish improves readability, repeat the relevant exposure check for the new construction. Keep the two improvements distinct in the approval notes.
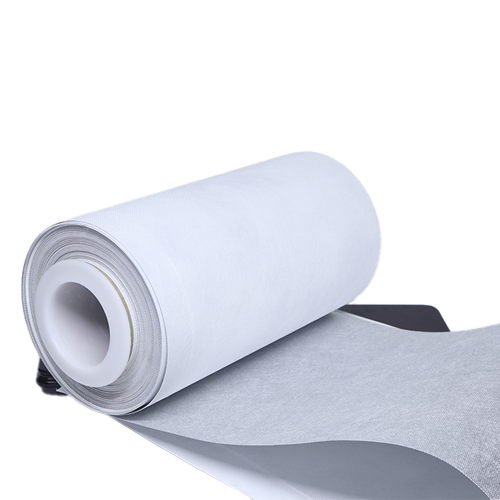
For replaceable graphics, test removal and insertion in the real holder. Check whether the film stays aligned with the artwork and inspect the reading area after the planned handling. An approved material may be ordered as a continuous roll or as cut pieces. Give the converter the holder dimensions and any edge retention requirement that affects the delivered format.
Put the exposure record into the purchase reference
If a chain uses the same insert in a window and in an interior rack, keep a matching set at both locations. The visual check should use the same artwork even when the display angle differs. That comparison can help the buyer decide whether one cover specification serves both installations.
Send the supplier the requested gauge, roll width, finish and the intended clear area. Include the exposure description and ask for the appropriate UV data for the offered film. Preserve an accepted assembled insert, an exposed sample and a matching retained reference. Record the artwork revision and fixture position with them. If the next shop layout or print system changes, the buyer can repeat the specific comparison that determined acceptance without discarding the existing material record.