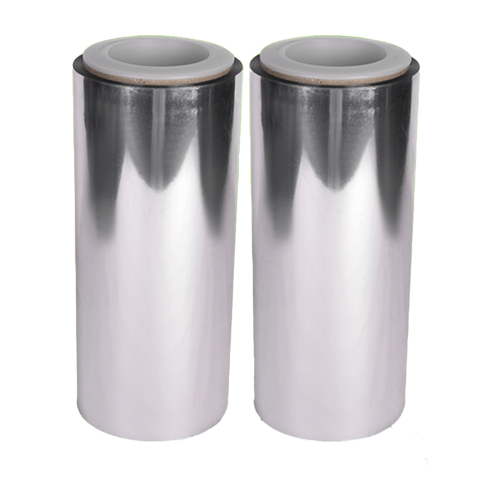
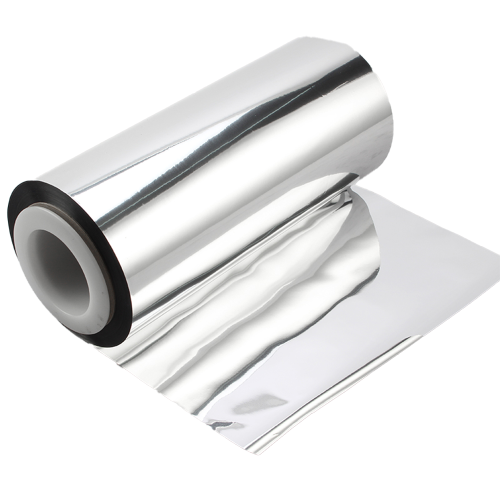
A filled pouch may leave the line with a flat end seal and show a folded corner when it is packed into a narrow carton. The corner can bear against the case wall during handling. A buyer considering metallized PE film should compare the candidate and incumbent in the same carton and inspect what happens where the sealed end folds. A raw film seal reading alone cannot describe the combination of laminate, fold geometry and case pressure.
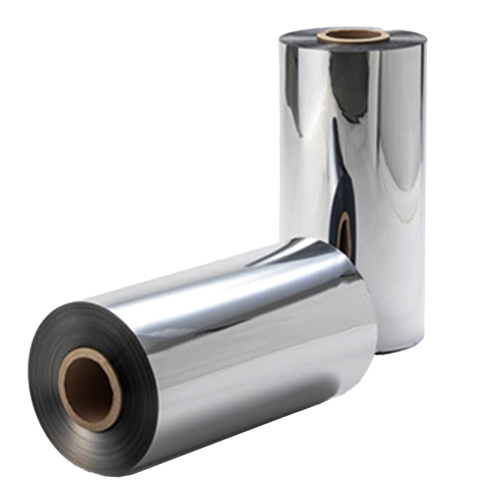
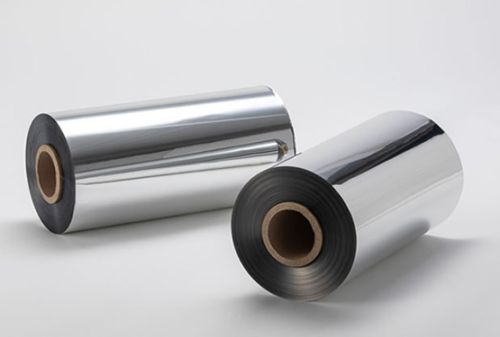
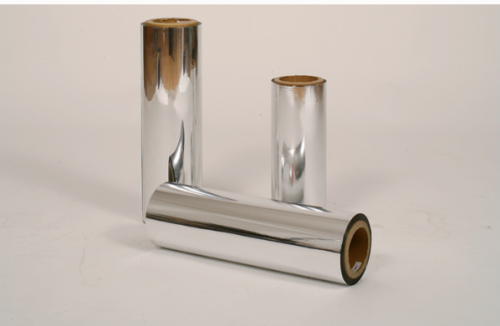
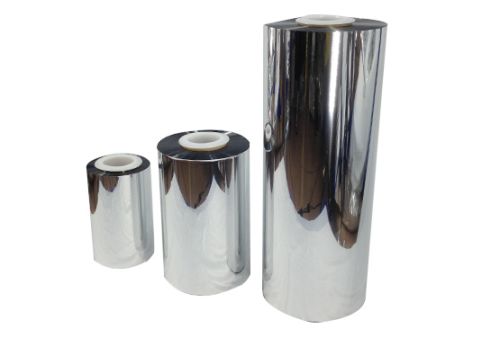
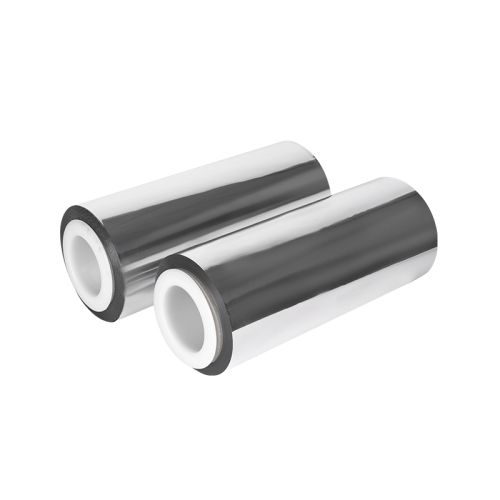
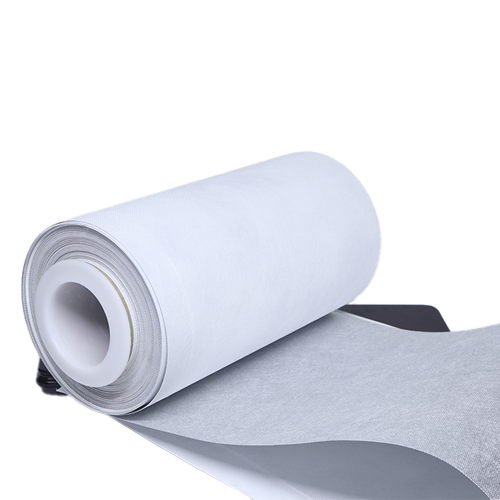
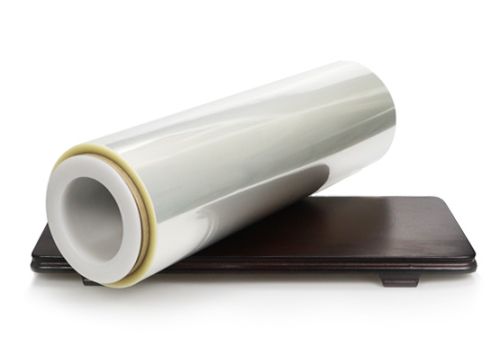
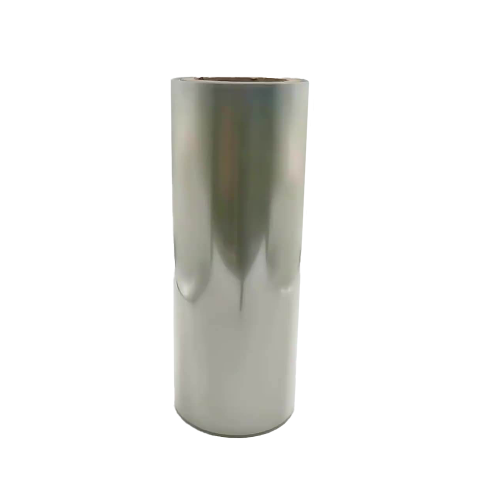
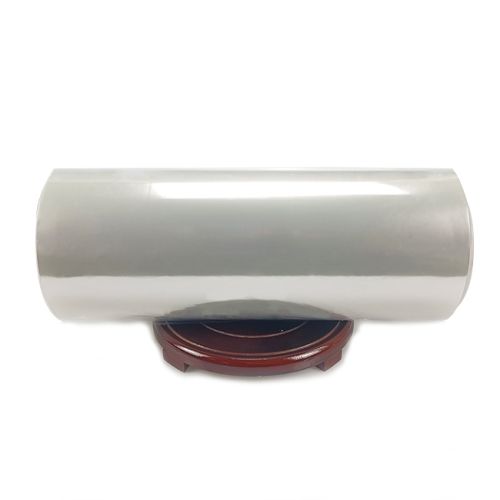
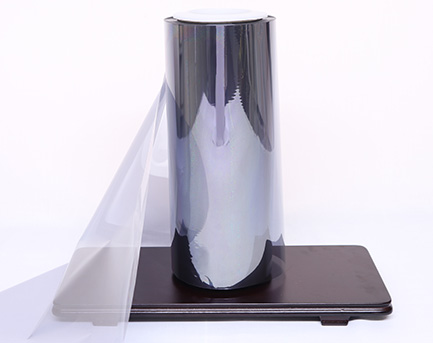
Cailong's film portfolio lists a metallized polyethylene film with heat sealing characteristics. Confirm the grade, surface orientation and role of the web in the laminate before requesting trial rolls. Where a separate layer provides the actual seal, include that layer in the production comparison. The suitability of the completed pouch depends on the structure the converter makes and the way it is packed, including the regions that contact the carton.
Start with the actual carton footprint
Measure the usable inside length and width where the pouch ends sit. Record how the end seals are oriented in the case. If operators alternate bags to fit the required count, reproduce that sequence during the trial. The lowest pack may bear against the case base, while an upper pack can see pressure from the closure. Inspect different positions before using one pouch as a reference for the whole case.
Record the permitted range of pouch length and fill profile. A lightly filled bag placed on a bench can occupy less space than the same format at the normal fill. Use the production fill or a representative approved substitute. Put the pouch drawing and case drawing alongside each other and mark any locations where the end flap rests against a wall or another bag. This creates a map for collecting specimens after handling.
Follow the fold from the packing step
Retain samples from the line before case packing and from the same run after packing. Inspect the end seal and mark any bends already present. If the corner changes when the pouch is inserted, record the direction of folding and what made contact. Include photographs showing the pack in position before removing it. A bend may partly relax when the pouch is lifted from the case and obscure the original loading condition.
Compare cases packed by the normal procedure with a trial group in which the intended corner clearance is held within the approved range. Keep the film construction and fill the same. If the fold appears only when the bag occupies a particular case position, use that information to review the packing layout. A material comparison is easier to interpret once the source of the bend is understood.
Look for changes near the sealed edge
Inspect the folded area under consistent lighting after the agreed handling exposure. Record whether the corner shows a white line, a dent, a layer separation or an opening. Check both the front and back and locate the mark relative to the seal boundary. A surface feature on an outer web can look like damage to the seal while lying outside the bonded area. Label the two locations separately on the specimen.
Check an unfurled seal from the same pouch or a matching control after the same exposure. If the folded and flat segments differ, inspect the location where the fold enters or leaves the seal. The transition can be more relevant than the center of the folded area. Keep a sample intact until the seal review is complete so the exact damage location is preserved for any follow-up work.
Assess the package with the agreed methods
Use the buyer's established approach for seal integrity and any required strength comparison. Record where each specimen came from and how it was prepared. If the seal near the fold is too narrow for a standard specimen, ask the laboratory to document the alternative method and scope. Keep a finished package check beside any strip results. Those observations can help determine whether the affected region changes the practical performance of the pouch.
Where oxygen or moisture protection matters, use comparable barrier specimens and record the test conditions. An intact seam and acceptable film data address different aspects of the finished pack. Keep results from damaged packs separate from undamaged controls rather than averaging them together. If the trial changes several laminate layers, describe the accepted construction in full and retain identification of the film supplied for it.
Move one variable in the follow-up
If a different case orientation reduces corner folding, repeat the test using the intended packing pattern before deciding whether a film change is required. If the same corner geometry produces different outcomes across materials, compare those constructions with the same seal arrangement and trial conditions. Review both the damage rate and the locations observed. A similar number of marks can represent different engineering concerns when only some lie across the seam.
Where the converter proposes a shorter pouch end or a different seal position, retain a sample built to each drawing. Check that the change still meets the fill and sealing requirements. Include the new dimensions in the case trial. A revision that reduces contact in one format can affect the packing count or move the contact point in another format.
Put the accepted format on the order
Give the film supplier the requested gauge, usable width and layer sequence. Include the pouch and case drawings and identify which face contacts the carton. If a finished laminate is being quoted, confirm the seal layer and face orientation with the converter. Send the folded and reference specimens where the supplier needs to assess the proposed material.
Retain a packed case reference or a clear packing diagram and the samples used for seal acceptance. If case size, fill or bag length changes, repeat the locations most sensitive to the previous fold. That keeps the material approval linked to a pouch and case arrangement the buyer can reproduce.