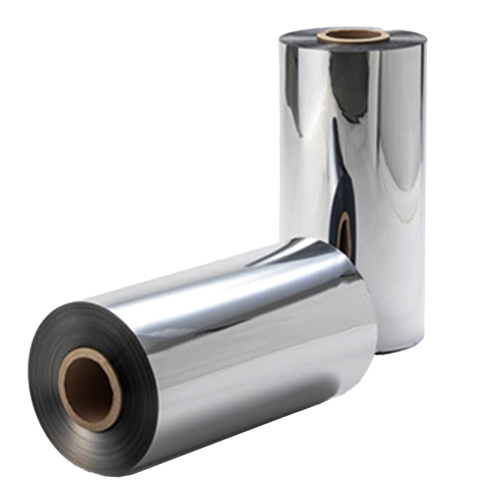
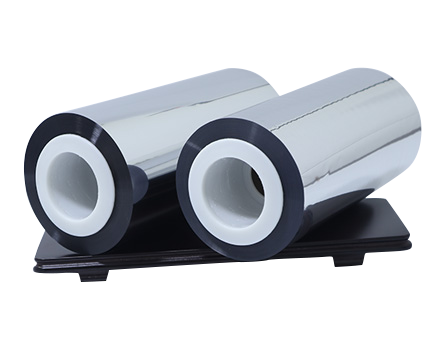
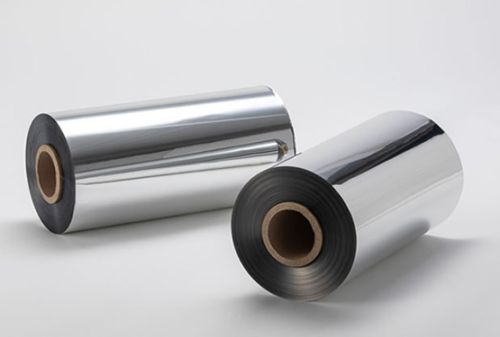
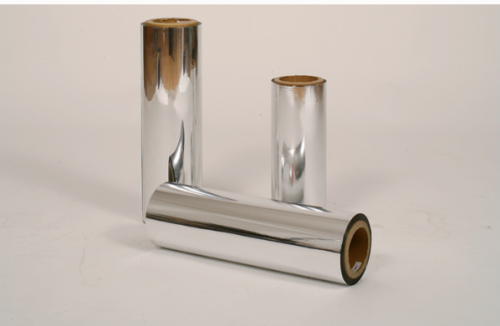
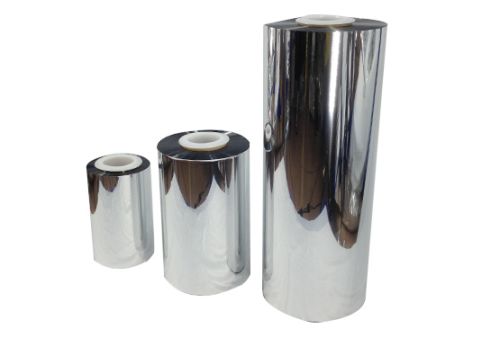
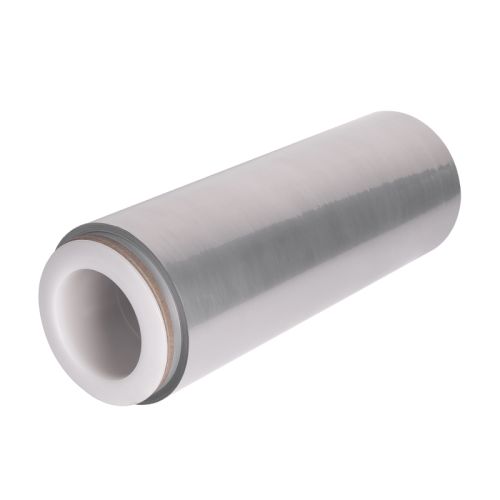
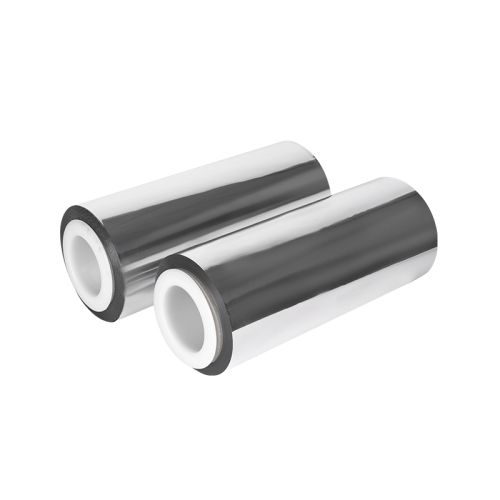
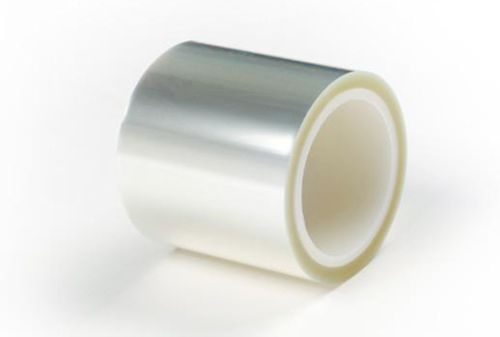
A shelf-edge strip may read well on the printing bench and become difficult to read after it is placed behind a clear holder. Store lighting reflects off the holder, the strip may bow away from it, and fine print can fall close to the rail lip. A buyer evaluating white metallized PET for this format should approve the printed strip inside the actual rail. The metallic backing and white face are only two elements of the finished display, and the buyer needs to see how the assembly behaves at the point of use.
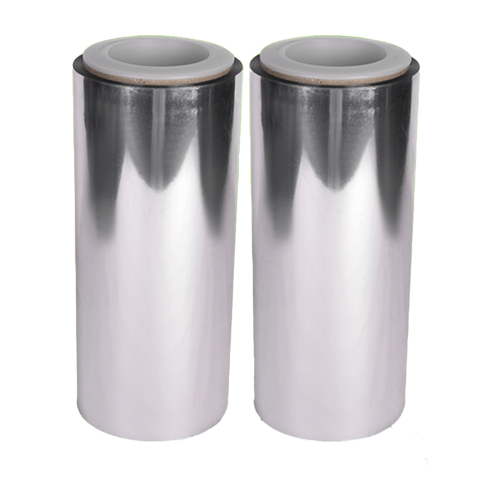
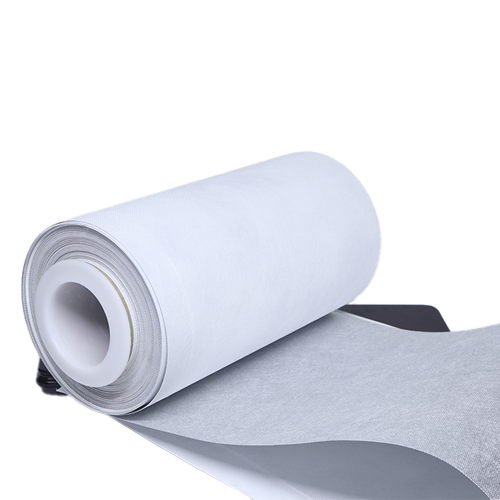
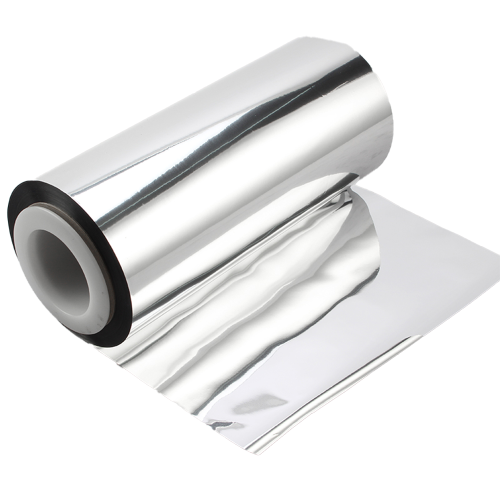
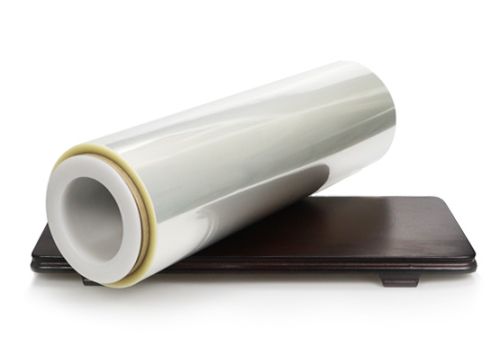
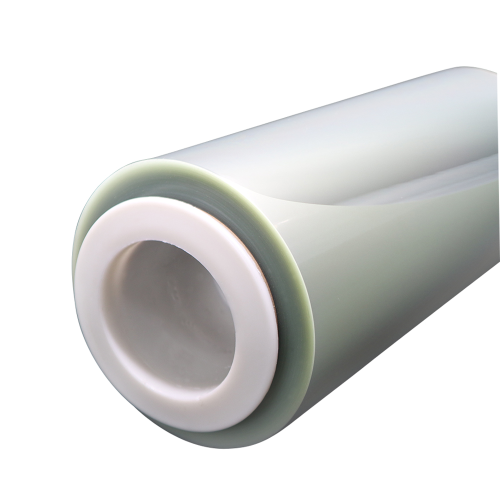
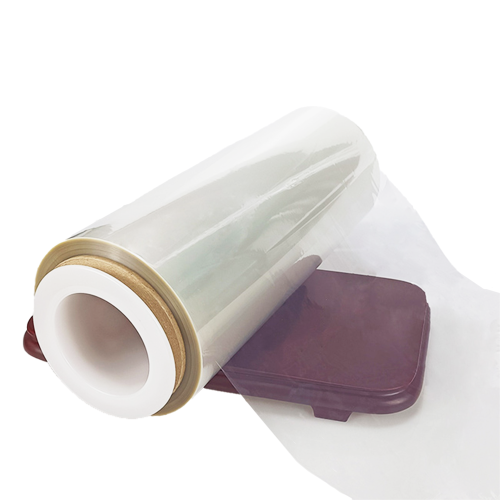
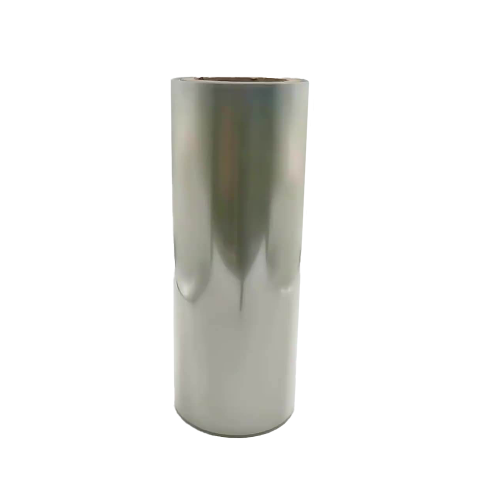
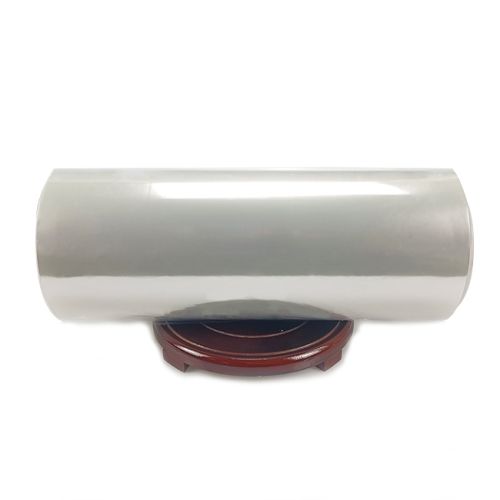
Cailong's film portfolio describes the film as a white PET base with an aluminum deposit. Its product information lists decorative and print applications. Confirm which face is printed and which will rest against the rail before ordering material. A face intended to carry print may need a different treatment from a face that will only contact the holder. Ask the converter to identify the two sides on the trial roll and retain the identification on an untrimmed piece of the print proof.
Recreate the rail and the viewing position
Obtain the clear holder used on the intended shelf, including the clip or channel that fixes it in position. Install a representative length at the height and angle expected in the store. Use an existing strip as a reference. Mark the viewer positions from which price and item information must be readable. A strip intended for a low shelf may be seen from above, whereas a strip beside a counter may be read nearly straight on.
Record the dimensions of the visible opening. A wide strip can fit into the rail and still carry a line of text behind the upper lip. Include the intended artwork margin and check whether the printed piece shifts when inserted. If there is play between the holder and the strip, position samples at both ends of that movement. This separates a print readability issue from a layout that cannot stay within the visible opening.
Print information at production scale
Use the actual price characters, unit text and any product code that will appear on the strip. Include the smallest characters and the darkest and lightest color combinations in the artwork. Produce the comparison with the intended process and retain its ink references. A large black square can demonstrate broad contrast but provides little evidence about thin strokes once reflections cross the holder. Check the position of the printing relative to the trimmed edge on samples from several web positions.
Inspect the exposed face before insertion. Record ink adhesion and any visible changes where the strip flexes into the holder. Use the converter's approved handling procedure and examine material after the applicable drying or curing interval. If the print rubs or transfers, identify whether the surface contacting the ink was the holder, an adjacent strip or packing material. The location and pattern will help the converter locate the handling stage that needs investigation.
Compare glare with and without the holder
Look at the print directly, then place the same strip inside the holder and repeat the review under the same lights. Record where a bright reflection crosses the price or other critical text. If both the incumbent and candidate are hard to read only with the holder installed, repeat the trial with a second holder that represents normal production condition. Scuffed and new holders may produce different reflections, so note which condition was present.
Check whether a space opens between the holder and the strip. A strip that bows can place text at a different angle from neighboring text. Measure the approximate extent of that gap and check whether the same area looks acceptable when supported in its normal position. Inspect the result after a representative storage interval if strips are kept in coils or bundles before installation. Include a retained unmounted strip to help identify curl introduced before mounting.
Inspect the joints and repeat installation
For long runs, place two strips next to each other. Inspect where the printed colors meet, where each cut end sits and whether the joint is visible from the positions defined for approval. Keep the strips from the same trial roll together at first, then compare pieces from different runs when the design will be replenished in batches. A joint can make a small color or gloss change more visible than either sample viewed alone.
Remove and reinsert selected pieces using the normal store procedure. Note whether the same edge catches repeatedly or whether the holder develops visible marks. Retain a used strip and the original approved sample side by side. If the design includes a cutout or perforation, include it in the installation trial rather than approving an uninterrupted strip of the same width.
Give purchasing a usable finish reference
Send the supplier the film gauge, roll width and visible face, together with the intended printing and trimming route. Include the rail cross section and the opening through which the artwork must be read. If contrast or scan performance is critical, identify the equipment or inspection arrangement used to accept the trial. Provide photographs with consistent lighting and retain a physical printed sample where appearance decisions are difficult to reproduce from a photograph.
Record the film lot, printed web location, cut dimensions and rail model with the approval. If a retailer changes the rail or mounting angle, check the same printed reference before changing film. A material purchase can then refer to the construction and installed appearance that the project actually verified. This also gives future print suppliers a clear way to show that a replacement strip will remain readable after it reaches the shelf.