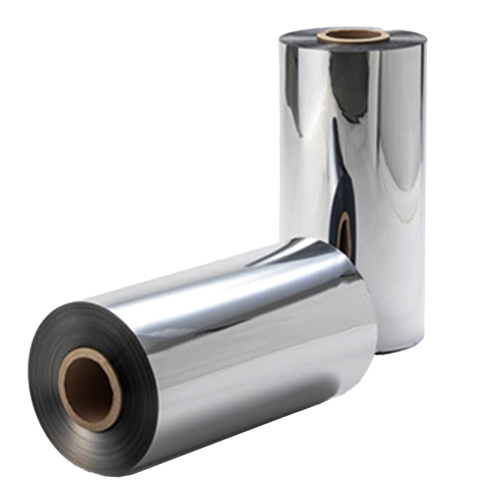
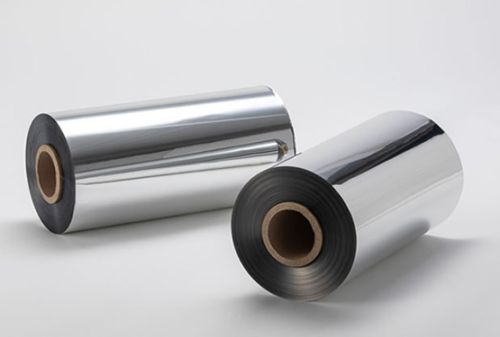
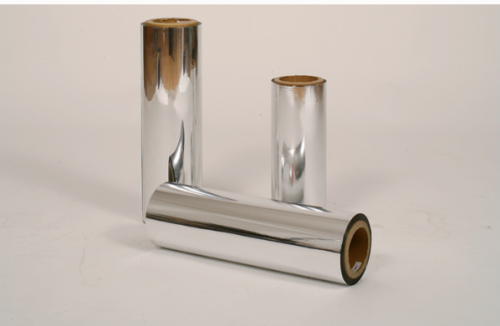
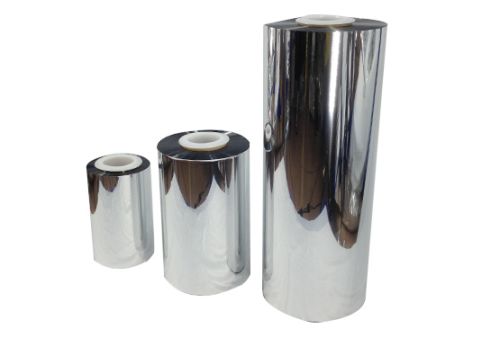
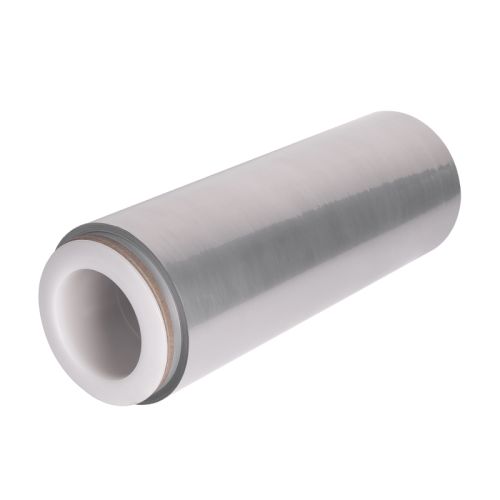
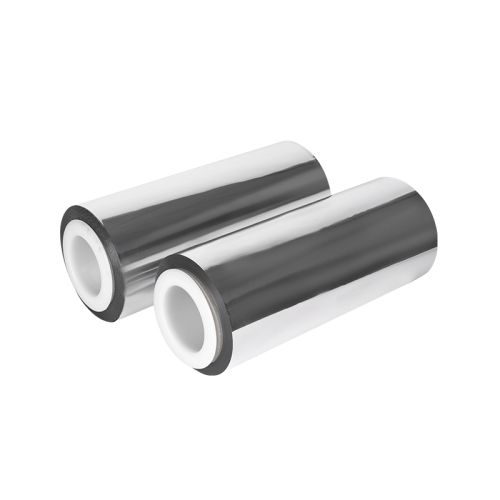
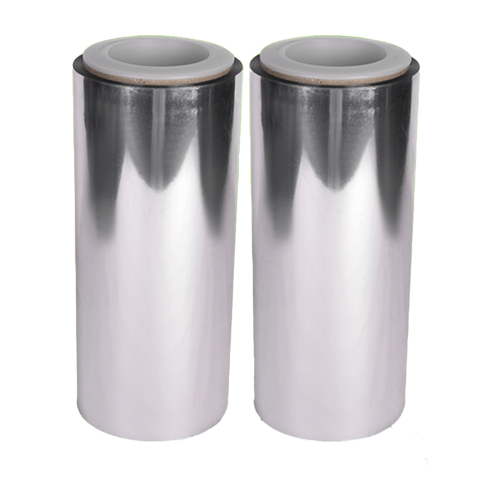
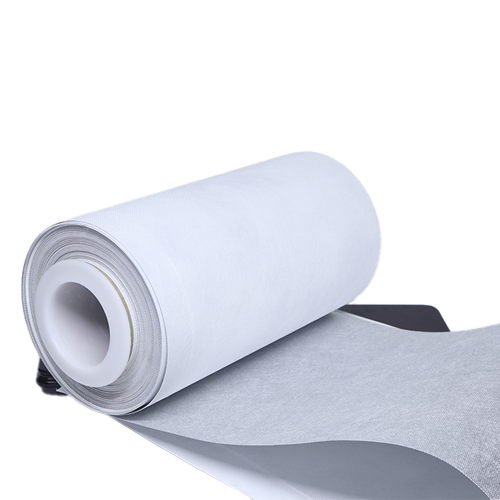
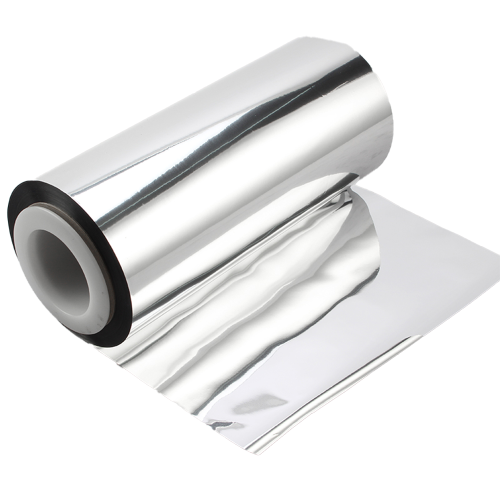
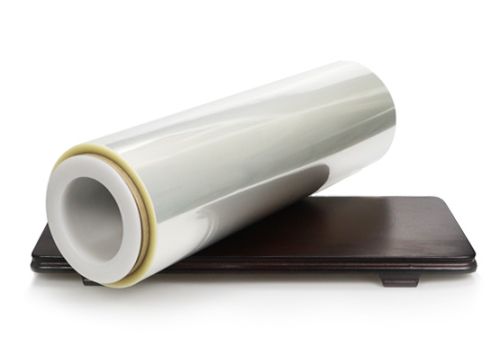
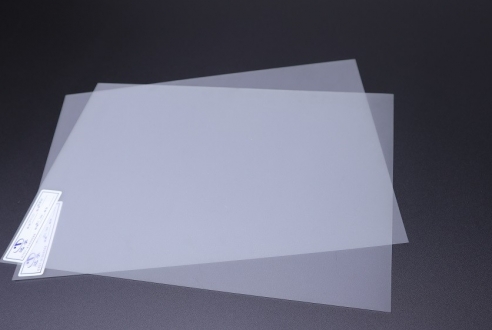
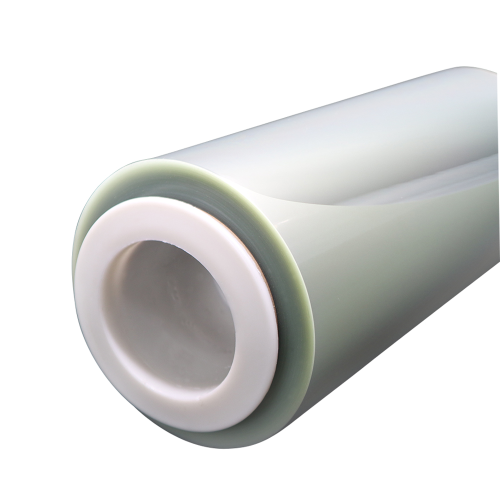
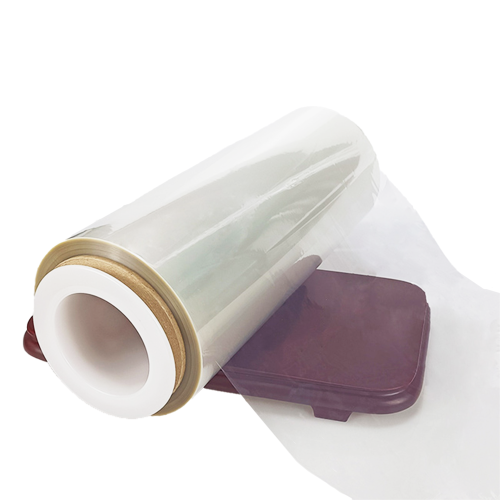
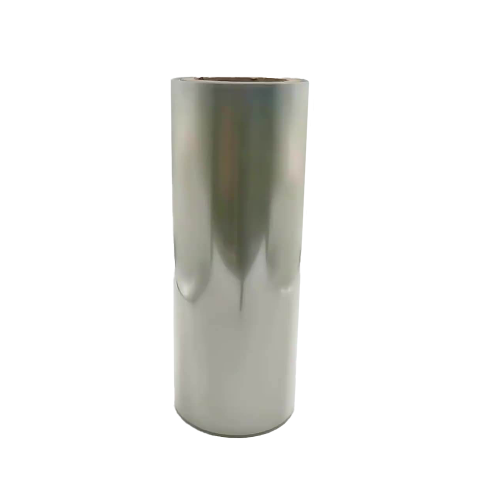
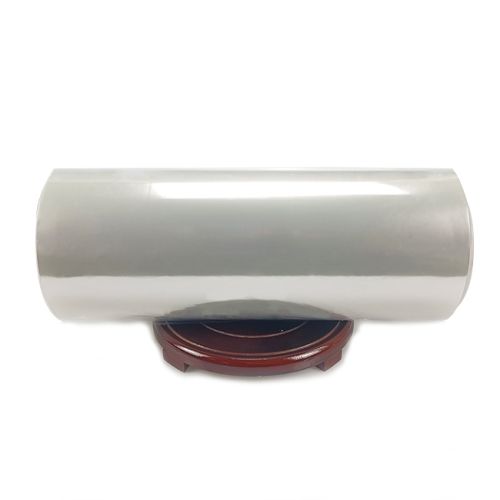
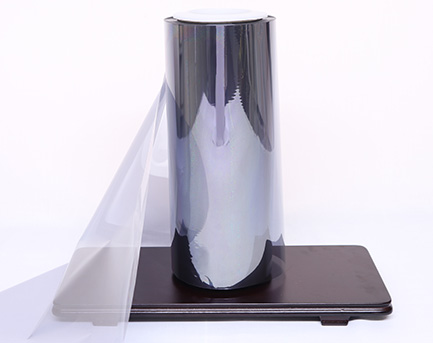
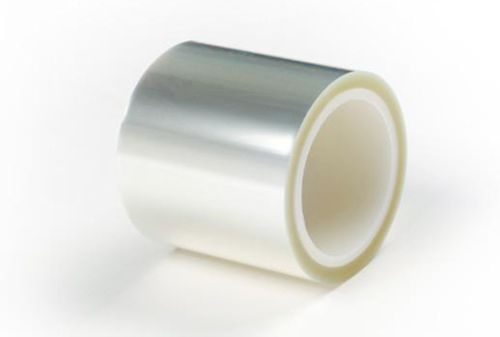
A transparent retort pouch can come out of the cycle with a pale or cloudy patch even when the artwork and incoming film looked clear. BOPP SiOx film gives converters a transparent coated polypropylene web to evaluate for these applications. A useful first step is to identify where the cloudiness sits and whether it persists after the pouch reaches its specified inspection condition.
Cailong's film portfolio lists a retortable SiOx-coated BOPP option with an 18 µm reference gauge. Use the current data sheet for the specific ordered grade. Retort schedules and laminate constructions need to be assessed together with the pouch maker. This investigation concerns post-cycle appearance and the evidence needed to judge it alongside package protection.
Inspect before water can change the evidence
Photograph the pouch as received from the agreed inspection point, before wiping away visible water or residues. Mark the cloudy location on a drawing and record which face is visible. A stripe near the upper edge, a patch behind an ink area and a uniform change over the product window should be recorded separately. They may point to different locations within the structure.
Repeat the observation after the agreed drying or conditioning step. A superficial deposit may change with handling, while an internal defect can persist. Keep a separate untouched specimen if laboratory examination is planned. A photograph of a wiped sample alone leaves the team unable to reconstruct the first appearance or compare it with the process record.
Identify the plane of the visible change
Look through the pouch from both faces when the contents and construction allow it. Try transmitted light for the clear window and reflected light for the area near printing. An inspection at one angle can hide a faint interface pattern. Use a consistent background, distance and exposure so that differences among samples reflect the package as closely as practical.
A section through a representative region can help determine whether the feature lies on the exterior, inside the laminate or on the product side. Have the laboratory compare a clear area from the same pouch. Section preparation itself can disturb a weak interface, so document the preparation and keep the original visual record available when interpreting the image.
Compare the same stack before and after processing
Retain the unprocessed laminate and empty converted pouches from the same run. Sample the intended filled pack where practical, including the actual product or a suitable trial fill agreed with the processing team. Comparing a clear incoming film with a cloudy filled pouch skips the stages that could explain the change. Comparing neighboring stages gives the converter a more focused question.
Record the stack order, coating orientation, adhesive and cure interval. Track printing and sealant details for each trial version. If the supplier changes both adhesive and barrier film between trials, the result is hard to assign. Start with a controlled comparison, then confirm the selected construction on a complete run that represents the intended pack.
Match the pouch position to the process record
Mark specimen positions in the processing load before testing. Compare patches across representative positions and document contact between pouches or supporting surfaces where relevant. If marks recur in the same area of a loaded pouch, check what happened there during processing and cooling. A record of where the pouch sat is more informative than a batch label alone.
Ask the retort team to provide the cycle record and the agreed point for inspection. The film sheet does not prescribe the thermal process for a filled product. Match the observed defect to the documented trial without adjusting a scheduled process simply to improve appearance. Any proposed process change belongs with the responsible processing specialist.
Measure appearance under the buyer's conditions
For a display window, decide what a shopper needs to see and under what lighting. A small shift detectable by an instrument may be acceptable for one design while a narrow patch in front of the product is unacceptable for another. Use retained references that show the appearance boundary and describe the exact zone to inspect.
If haze is measured, confirm that the specimen size, geometry and instrument setup suit the method. Report local visual defects separately from a broad average measurement. Avoid cutting a small affected zone out of the results simply because the remaining window meets an average. The decision should reflect the location as well as the magnitude of a change.
Check protection and appearance separately
A pouch can pass the visual requirement and still need integrity and barrier measurements. A cloudy region also does not identify a specific protective failure by itself. Choose follow-up tests based on the observed location and the package requirement. For example, a persistent interface feature can justify bond examination alongside the agreed post-cycle barrier and seal checks.
Include comparable unprocessed and processed specimens in the test plan, and state which part of the pouch each result represents. A flat coupon may omit seals or heavily handled areas. If those locations matter, add a completed pouch evaluation so the trial covers the package as used.
Hand over an evidence set that can be repeated
Keep the film and laminate identities, cycle record, photos at the designated inspection times and any section images with the sample set. Ask the converter to report clear areas alongside affected areas and include repeated observations from representative loads. This makes it possible to tell whether the proposed correction works consistently.
Preserve at least one sample from a pouch that showed no visible change in the same load. It gives the team a comparison that shares the processing history. If acceptable and affected pouches were collected from different runs, document that difference and avoid treating the two samples as a matched pair.
The transparent SiOx web remains a candidate when the buyer can qualify the laminate and retain the required view of the product after processing. The purchase brief should tie that decision to the selected construction, inspection conditions and finished package results. That way a future material or process change can be reviewed against the same acceptance basis.